With Trombinoscope Contacts Pro v2.11, it is now possible to show a different picture than the standard contact picture in the contact views created by the extension (for users of Joomla 3.7 and over). Not only that, it is also possible to show several pictures that will automatically display as a slideshow. This tutorial will teach you on how you can easily do just that.
Step 1 Create a folder in the media manager where all the contact pictures will be stored.
In this tutorial, our contacts are cats and we are therefore creating a folder cats to store their pictures.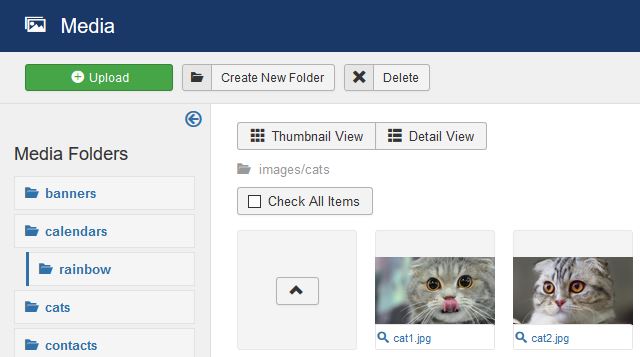
Note For this to work properly, images should all be of the same width and height if kept untouched. When processed by the extension, there is no need for such a requirement.
Step 2 Go to Components -> Contacts -> Fields.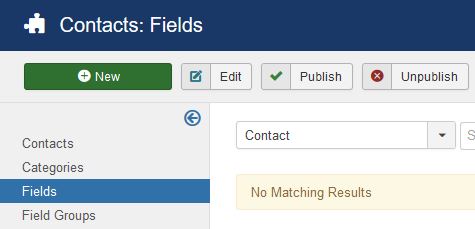
Step 3 Create a contact custom field of type Imagelist.
Set:
- the type of the field (List of images),
- the title of the field (we call the field 'View images'),
- the directory ('cats' in our example, since all cat pictures are stored in that folder),
- the multiple value to 'yes' to allow multiple images.
Step 4 Save the field.
Step 5 Go to Components -> Contacts -> Contacts.
Step 6 Create the contact 'Floppy' (we called the cat 'Floppy' because it has floppy ears).
Step 7 Go to the Fields tab. Select the contact pictures that will show in the contact view of the contact (here, we select 2 pictures).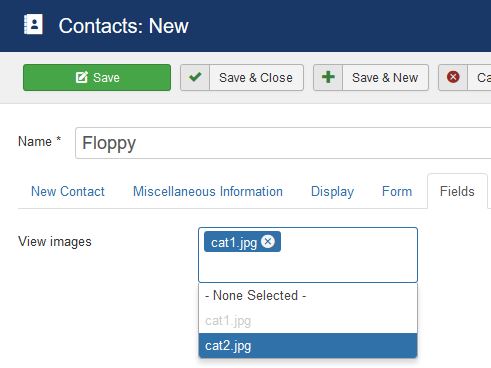
Step 8 Save the contact.
Step 9 Go to Menus -> [Your menu] -> Add new menu item.
Step 10 Set the menu item type to any of the contact views available through Trombinoscope Contacts Pro. 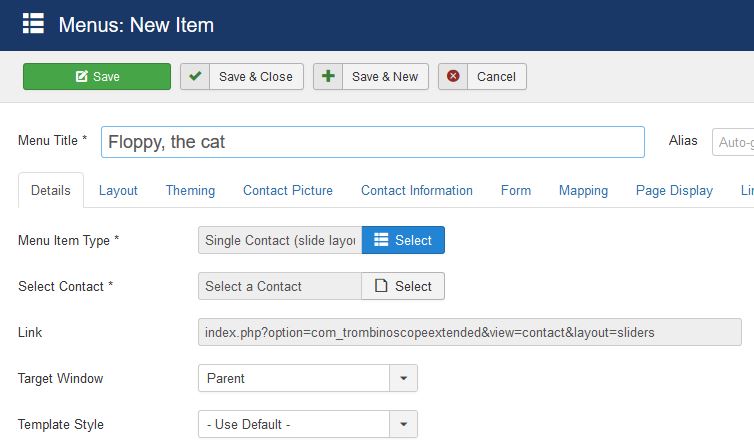
Set:
- the menu title,
- the menu type to any Single contact view proposed by the extension (we chose the slides layout),
- the contact to 'Floppy'.
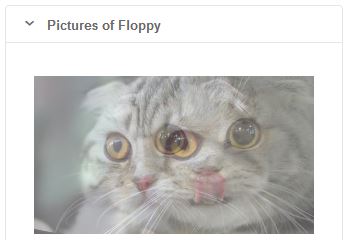
Step 11 Go to the Layout tab and set Space 0 to Picture only. Label it 'Pictures of Floppy'.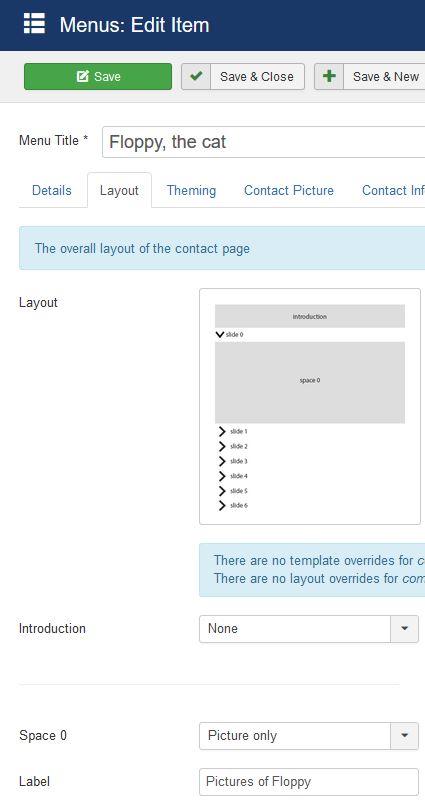
Step 12 Go to the Contact Picture tab and set Origin to the custom field that was created previously ('View images').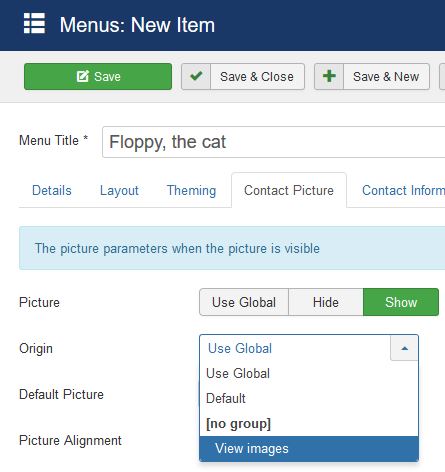 You should also set:
- the Picture parameter to Show,
- the picture width and height,
- the Process pictures parameter to Yes if the extension needs to crop the images and/or filter them.
Step 13 Save the menu item.
The resulting contact page
The 2 images of Floppy are now showing independently and fading into each other on the public side of the site.