If you are new to Sesame Pay for Access (and never used Pay Per Download), you can perform the following steps to get started.
Create a resource
The extension's purpose is to restrict access to resources available on your site. The visitor needs to pay for the resource to access it (either to see, read or download). Therefore, let's first define a resource that needs to have restricted access.
A few resources are available by default. It is possible to download more resource types from this site or even create your own (see the extend the extension section in this documentation).
Go to Components -> Sesame Pay for Access -> Resources.
Click on New. Select any of the available types.
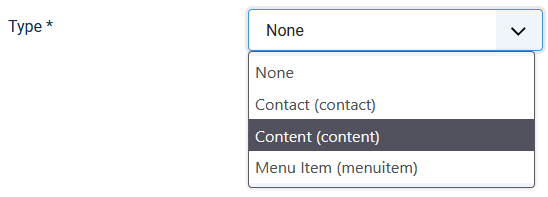
As an example, we could assume we want to restrict access to a specific article. In that case, select the Content type.
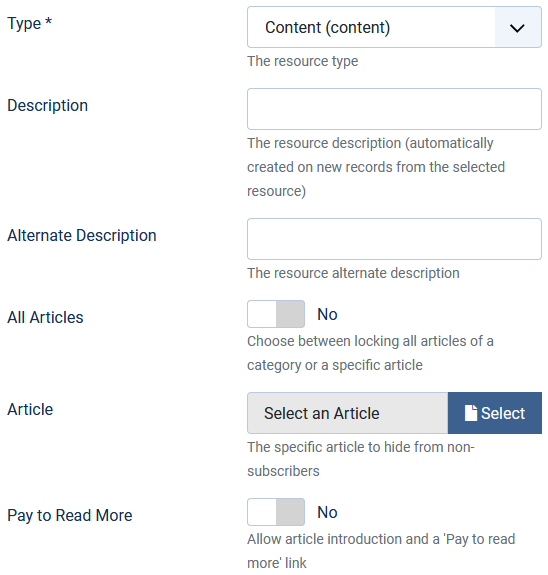
Give the resource a name (it will show on the visitor's payment form), set the parameter 'All articles' to 'No' and pick up the article from the modal.
Do you need to show an introduction for the article and a link 'pay for more'? Set 'Pay to Read More' to 'Yes'. If you want to restrict access to the entire article, set it to 'No'.
Finally, set up the payment options.
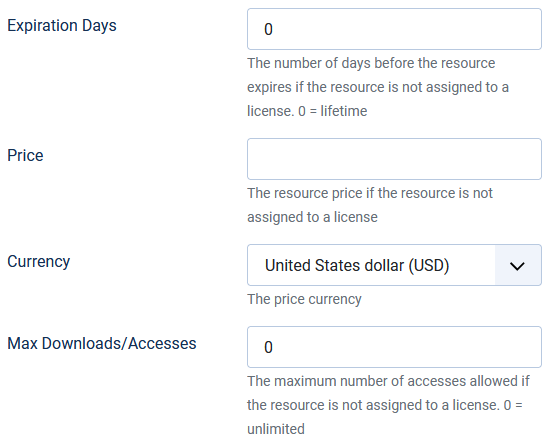
Set any price.
You can set the resource to be available for a certain number of days with 'Expiration days' (set to 0, access is for a lifetime). 'Max download' can also restrict how many times the resource can be accessed (set to 0, access is illimited).
Prepare the article for Pay to Read More
If you have set 'Pay to Read More' to 'Yes' while creating the resource, you will need to specify where the visible free text should be separated from the paid content. Go to the article, set the cursor to where the separation should be and click on the button Pay to read more. If the button is missing, the editor-xtd plugin may be disabled.
Inside the article, you should see a horizontal line or the tag <hr id="sesame-paytoreadmore" />.
In the database, the visible text is stored in the 'introtext' column, the restricted content is stored in the 'fulltext' column. You cannot use Pay to read more and Read more in the same article.
Simulate payments
Go to System -> Global configuration -> Sesame Pay for Access -> Payments tab.
Set 'Use payment simulator' to 'Yes'. This will simulate payments for now and allow you to test your settings without the need to set up any payment gateway.

Test access to the new resource
Now, on the public side of the site, the article should no longer be accessible in its entirety.

A click on the link will initiate the payment.
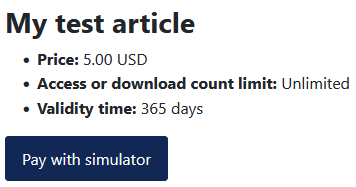
Once payment has been made, the article should be visible in its entirety.

Now, in 'real' life, if the visitor were logged in while buying access to the resource, every time he/she would return to your site and log in, he/she would be able to see the article for the life of the resource.
For a visitor that was not logged in when buying the resource, he/she would need to use the access link sent to his/her email address (by default, the email address used is the email address linked to the account at the payment gateway service - there is an option to allow visitors to specify an additional email address where the access link would be sent to).
Access links are available at Components -> Sesame Pay for Access -> Access Links.
Create a license
Requesting payments directly on resources can only go so far. If you want to restrict access to a whole category of articles, setting up a resource for each single article could be overkill. You may also want to restrict access to several types of resources. For instance, you may want to have a user pay for access to articles, for downloads and for forum posts, all as one package. That is what licenses are for.
Note that licenses can only be purchased when a user is logged in.
Go to Components -> Sesame Pay for Access -> Licenses.
Click on New.
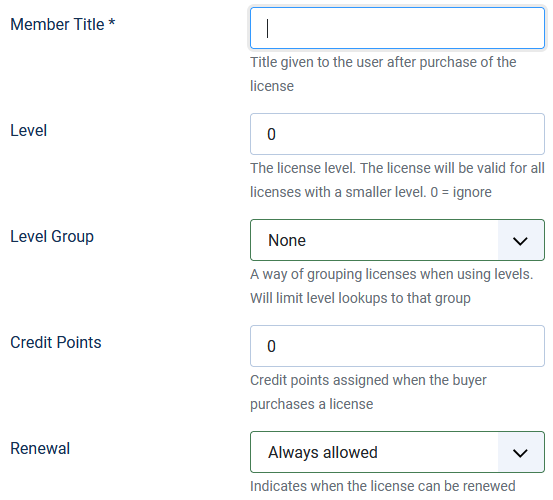
Enter a name for the license and what users should be called once they own that license (Member title).
Leave the level parameters with their default values. Levels can be used if you create a set of licenses that are related to each other. For instance, you could have a set of licenses to give access to a specific category of articles. A low-level license could give access for 6 months, a higher-level license could give access for a year... The levels, once setup correctly, will allow users to upgrade from a lesser license to a higher one.
Credit points allow you to credit points to the user when a license is bought. Those credit points accumulate for each buyer (this is independent from any user point system, there is no integration with other systems at this point).
The renewal parameter is useful if you want to allow users to renew their license before expiration.
Finally, go to the 'payments' tab.
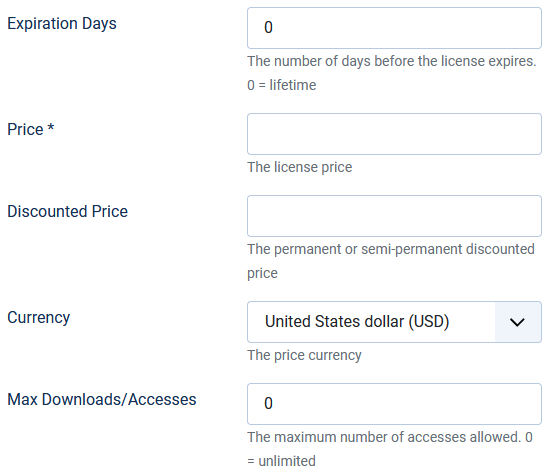
The available options are pretty similar to the ones found for a resource.
Create a resource that will be accessible through the license
Now that the license is ready to be used, you can create resources that will be restricted for access unless a user buys the license you just created.
Let's create a resource that restricts access to a category of articles
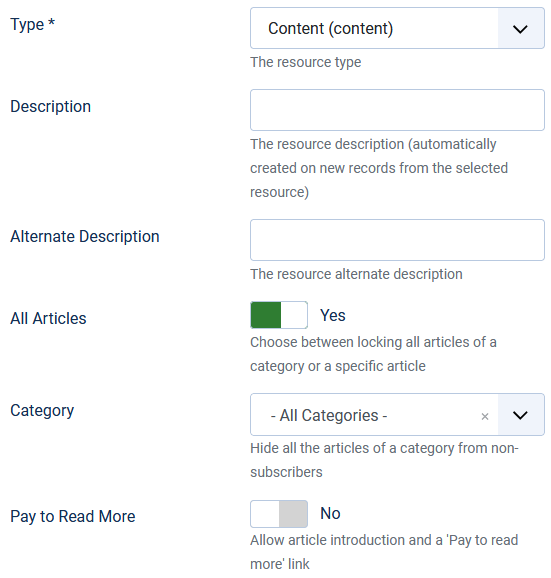
Select a category you want to restrict access to.
Go to the 'payments' tab.
Select the license that was created previously.

Test the restricted access to the articles in the specified category
If you go to a specific article from the category selected in the resource and you are logged in as a user (not as a Super User, as super users have no restricted access by default - permissions are set in the global configuration's 'Permissions' tab), you should not be able to access the article. Rather, you should be welcomed with the payment header for the license instead.
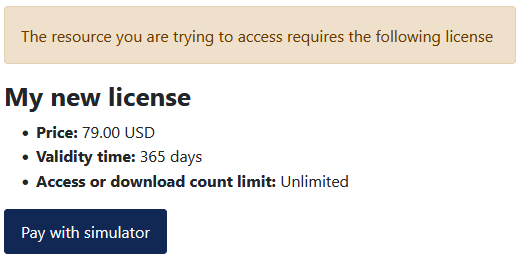
Go through the payment process. Once paid, you should be able to access the article and all articles in the category.
All licenses paid for are located in Components -> Sesame Pay for Access -> User licenses.


